Home > Administrator Functions > Managing Custom Table Screens > Setting your Default Screen
Setting your Default Screen
Once you have created your second screen, its now time to set one of the screens to default. This means that this is the screen that show up when adding records, editing data etc.
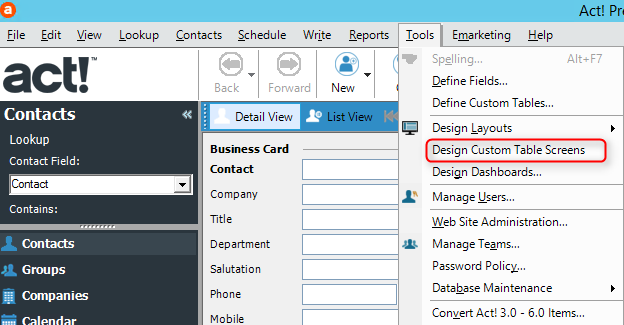
1. Go to Tools>Define Custom Table Screens

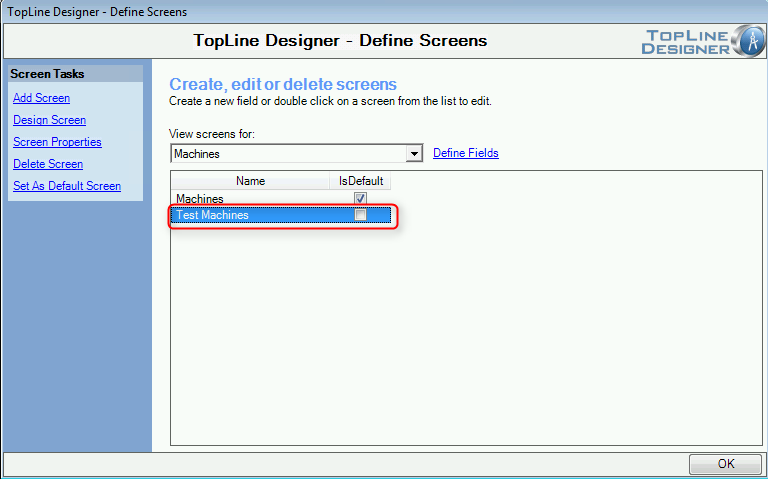
2. At the Defines Screen you will want to highlight the screen you want to be the default.

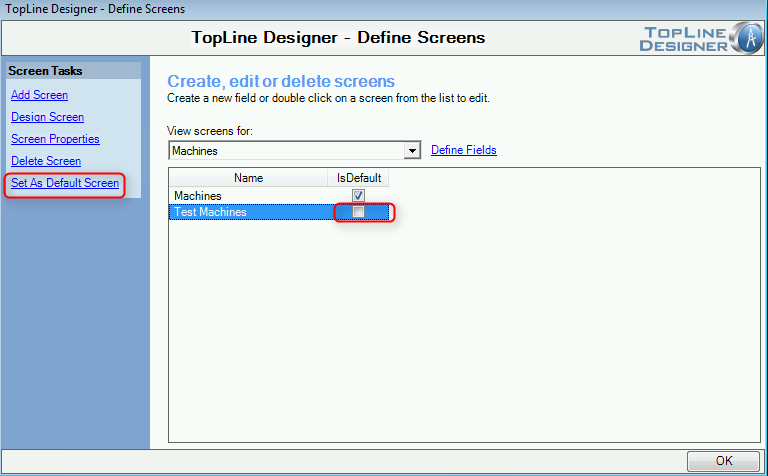
3. When you have the screen you want to be the default selected, Click Set As Default Screen

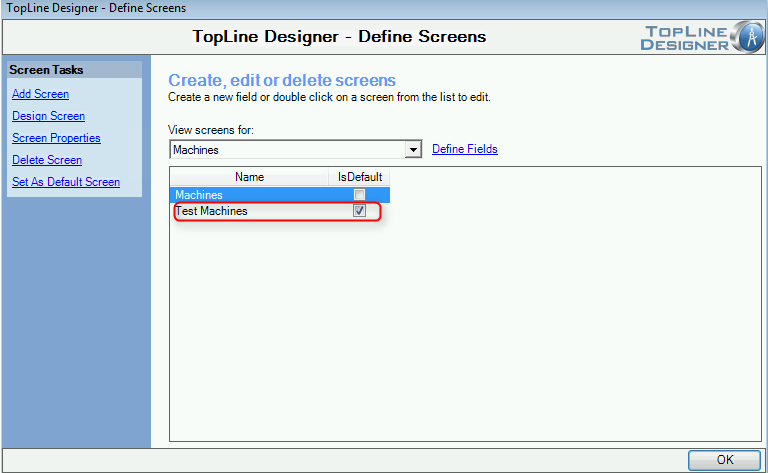
4. You will now notice your default screen has the boxed checked.

See also
| 


