Home > Administrator Functions > Importing Data
Importing Data
Data can be imported into the Custom Tables from CSV files or other data sources. The source data must have one (and only one) field to match the parent table (i.e. Contact, Company, Group, Opportunity or other Custom Table).
- Open ACT!
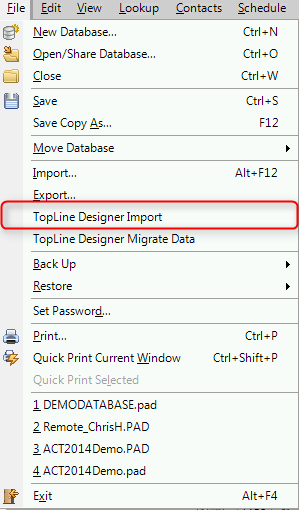
- Click on the File menu and select Keystroke Designer Import...
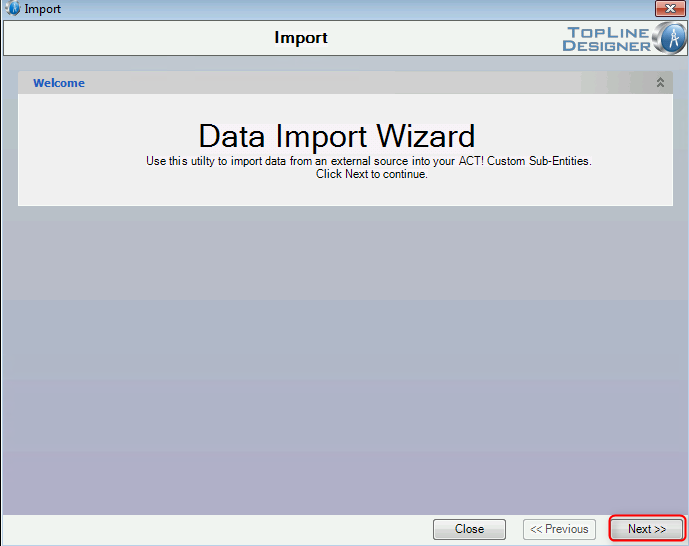
- The Import Wizard will begin. Click Next.
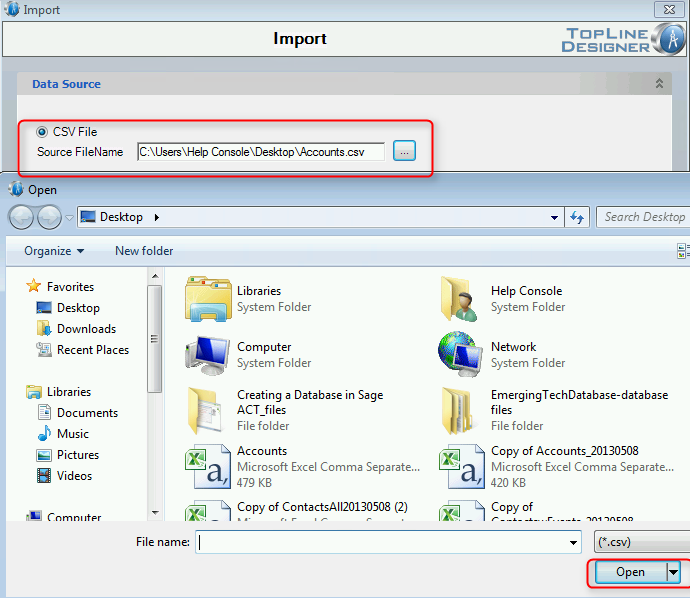
- Select a CSV or other datasource. This example will be with a CSV file. Click Next to continue.
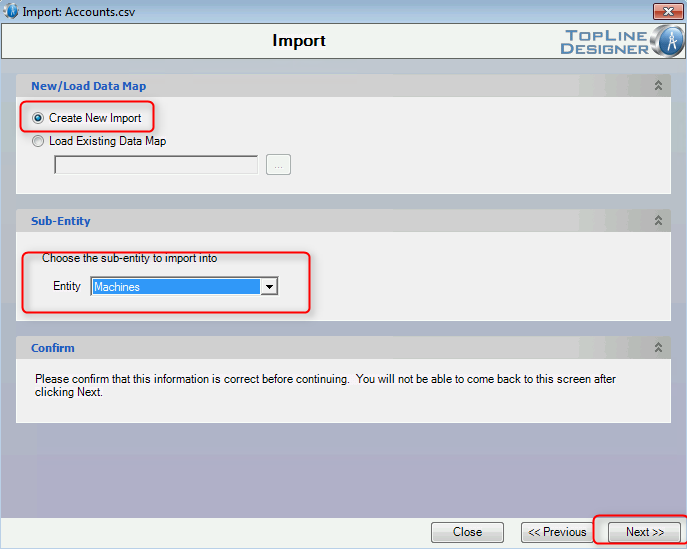
- Create a New Import profile (like this example) or load an existing data map. Select the Custom Table to import into and click Next.
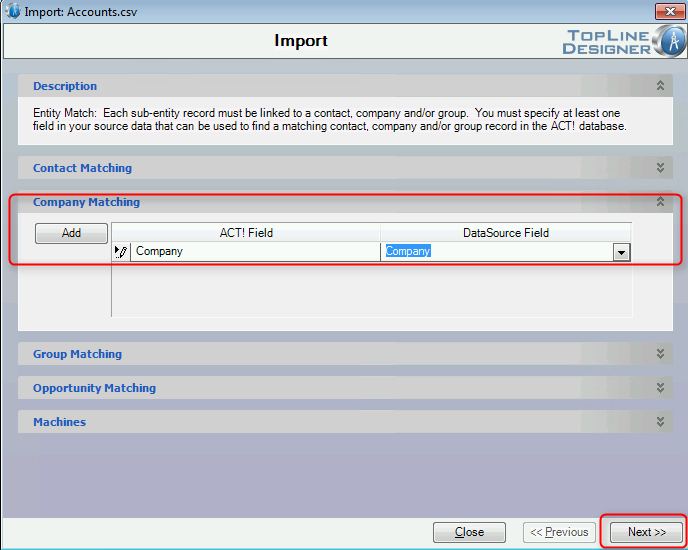
- Map the Datasource file to the ACT! field to find the proper Parent entity. In this example, the custom table will be matched to the Contact entity by the Contact field in the CSV file to the Contact field in ACT! Click Next. NOTE: Fields of Date type cannot be used for Entity match.
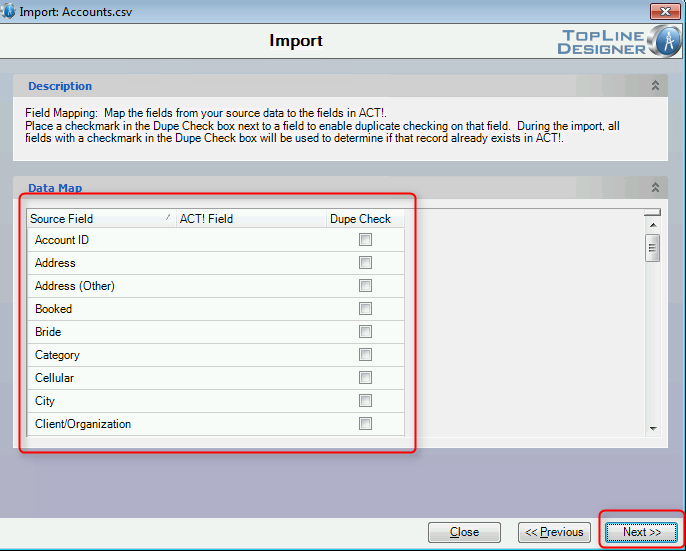
- First, map the Source fields to the Custom Table ACT! fields. Select the Dupe Check box to have Keystroke Designer check for duplicates based upon that field prior to importing. For this example, Designer will not import the new data if the current contact has another record with the same Model Number.
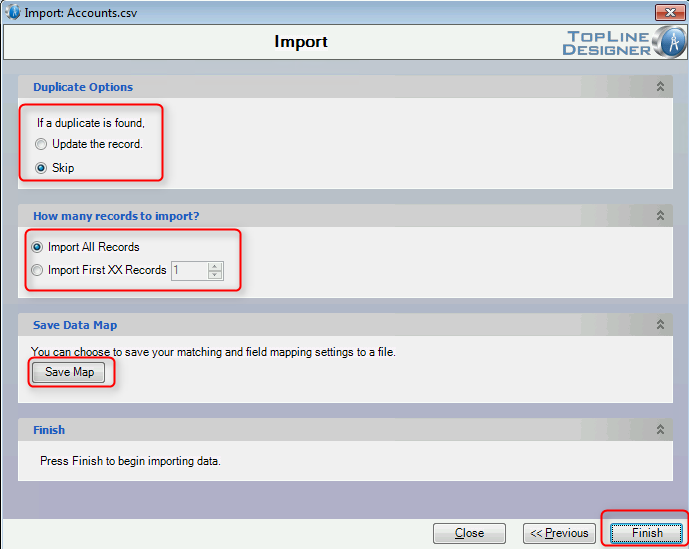
- If a duplicate is found, have Designer update (replace) the matching record or skip the matching record. The number of records imported can be restricted to test the import settings. All import settings can be saved for future imports. Click Finish to begin the actual import.
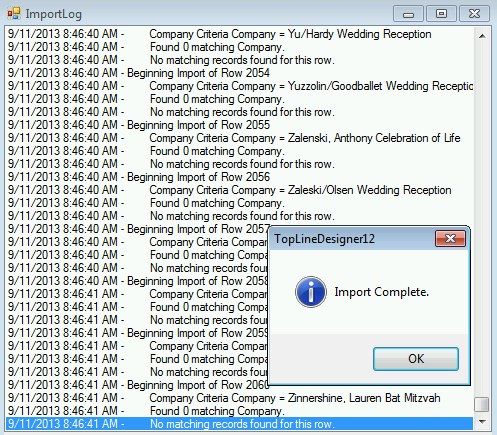
- An import log will be shown displaying the progress of the import.
- The data is imported. Notice the records with Company=(none) were updated because Company was not in the source data and was not matched.

See also
| 


