Home > Administrator Functions > Managing Tables > Editing an Existing Table
Editing an Existing Table
Editing an existing custom table is easy.
- Open Act!
- Click on the Tools menu and select Define Custom Tables...
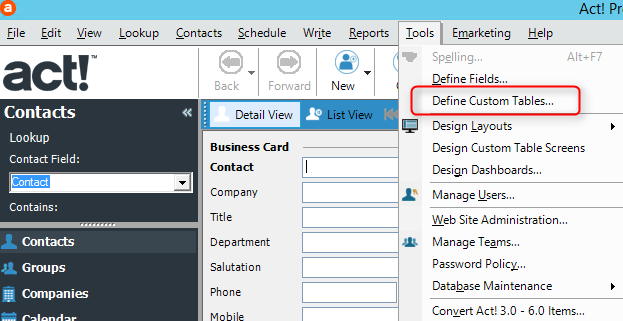
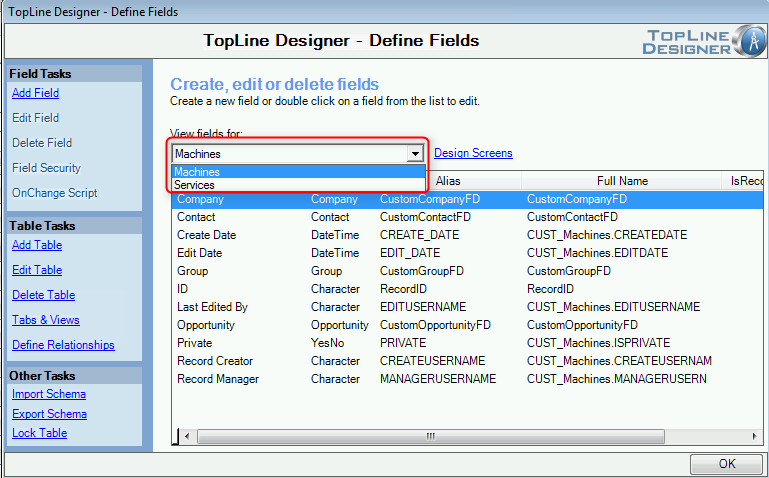
- Select the appropriate custom table from the dropdown and click on the Edit Table link
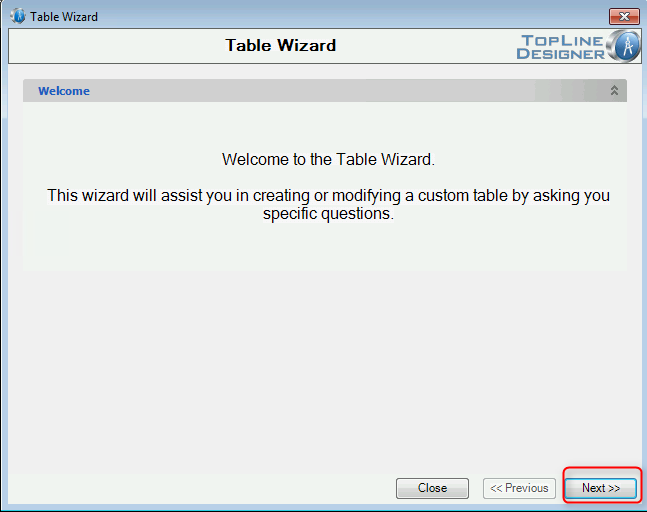
- A wizard will display to guide you through the process of editing the table. Click Next to begin.
- The table name and Act! linked entities cannot be modified for existing tables.
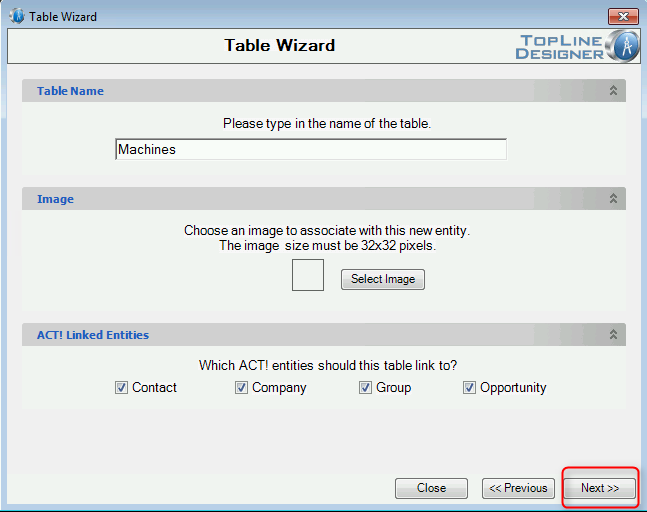
- Table Properties can be modified.
- Layout Tabs
Placing a check mark in these boxes will add a new tab to the Contact, Company, Group or Opportunity layout for this table.
- Lookup Menu
Selecting Yes will add a new menu item to the Lookup menu which allows you to perform a lookup on records in this table. The result will be a lookup of Contacts, Companies, Groups or Opportunities.
- View Menu
Selecting Yes will add a new menu item to the View menu. This allows you to view, filter and sort a list of all of the records in this table. 
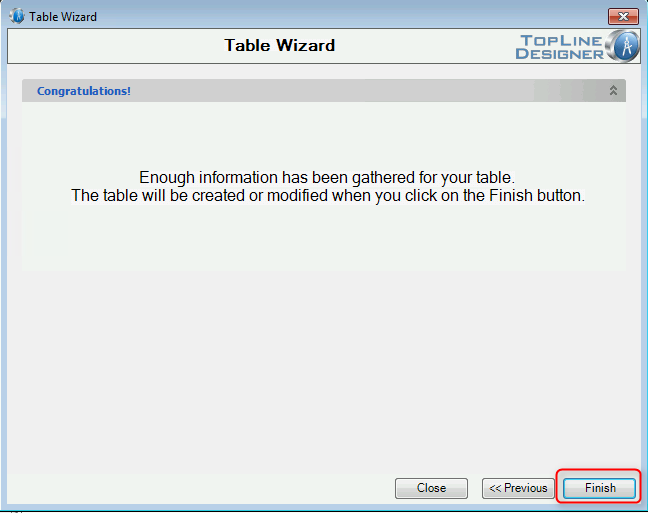
- Click the Finish button to modify your table.
See also
| 


