Home > Administrator Functions > Managing Custom Table Screens > Adding a New Screen
Adding a New Screen
A blank, default screen will automatically be created upon custom table generation. However, creating a new custom table screen is easy.
- Open Act!
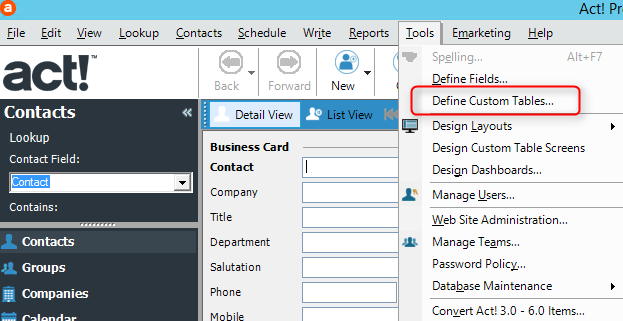
- Click on the Tools menu and select Design Custom Table Screens...
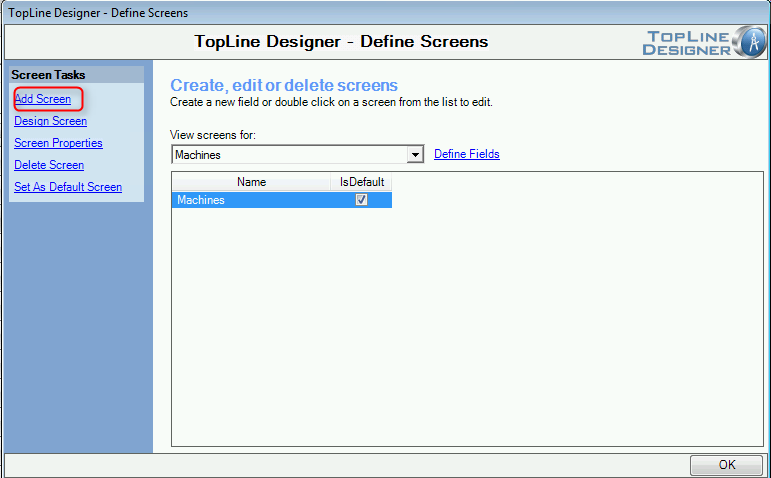
- Select the custom table and click on the Add Screen link.
- Type the name of the new screen, set the maximum number of rows and columns, and click Next.

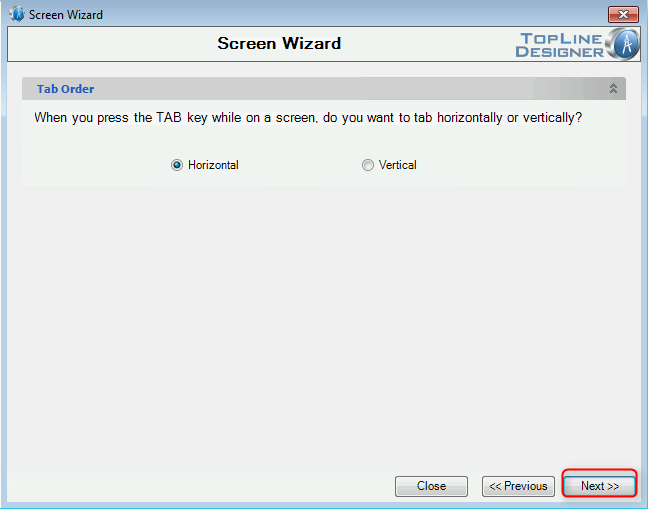
- Select either Horizontal or Vertical tab order, then click Next
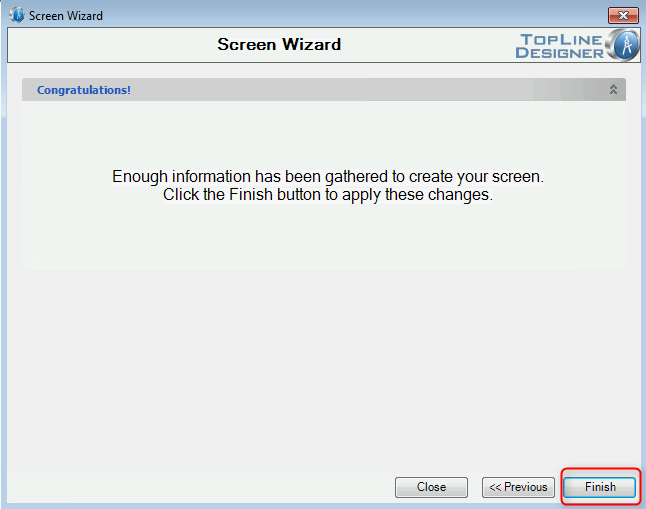
- Click Finish to create the new blank screen and return to the Define Screens window.
See also
| 


