Home > Administrator Functions > Managing Tables > Defining Relationships > Add Relationship
Add Relationship
To build a new relationship between existing custom tables is easy.
- Open Act!
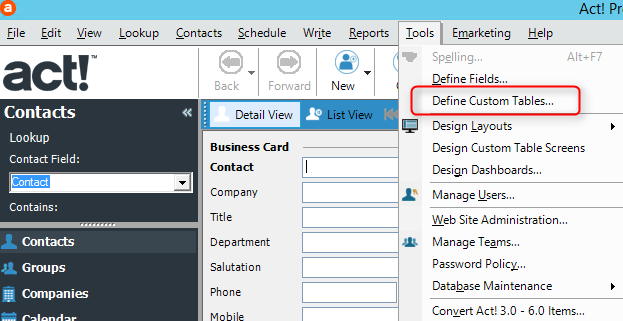
- Click on the Tools menu and select Define Custom Tables...
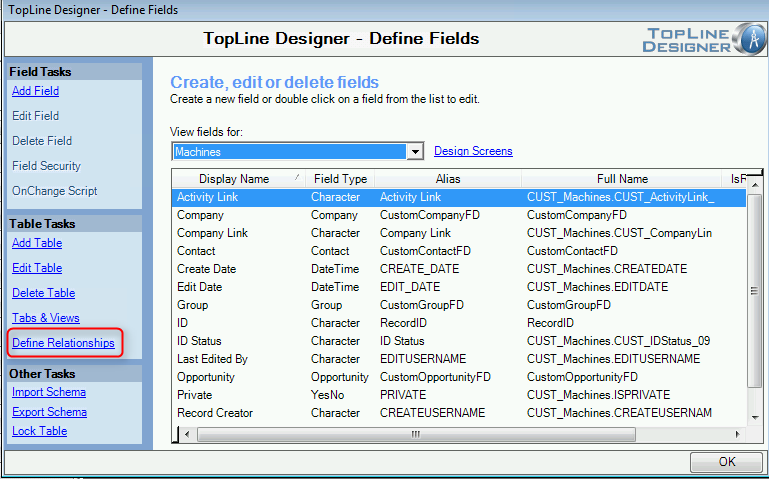
- Click the Define Relationship link.
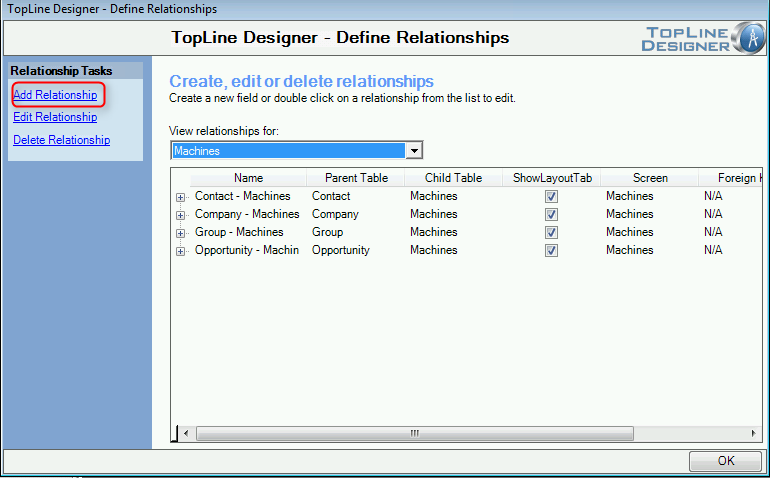
- Click the Add Relationship link.
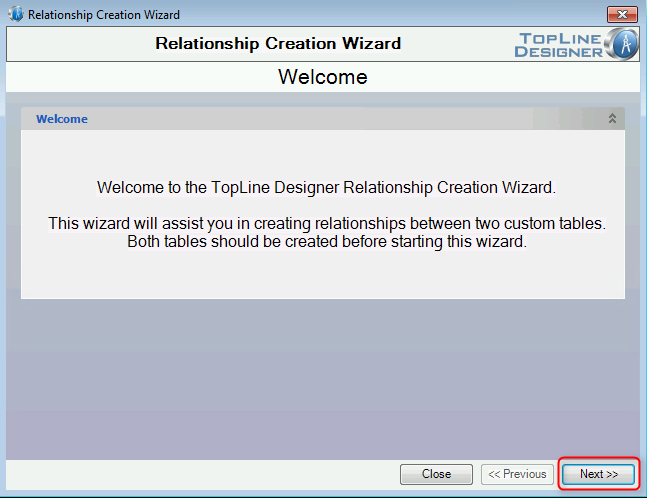
- The Relationship Creation Wizard will appear. Click Next to begin.
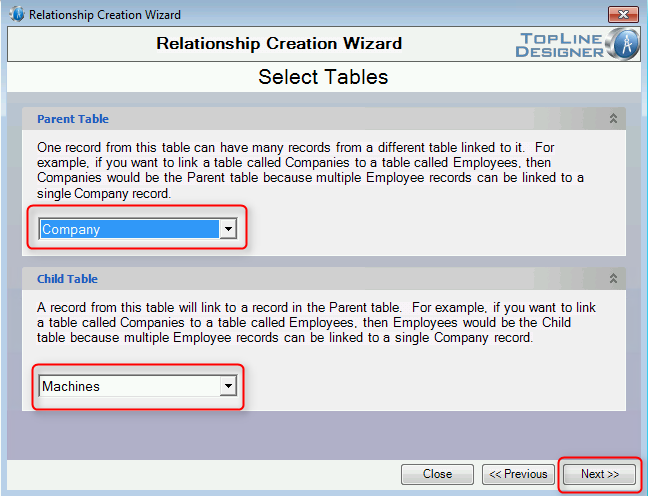
- Select the Parent Table from the dropdown and the Child Table from the dropdown. Click Next.
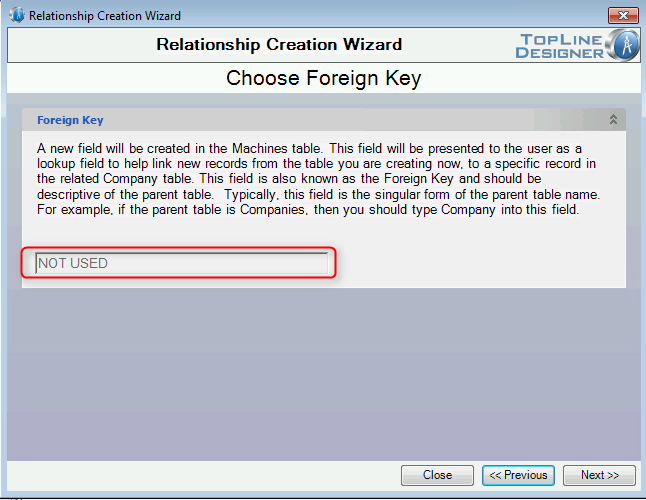
- Assign a name to the newly created key which will link the two fields. This Child Table field will hold the special key linking the two tables. Click Next.
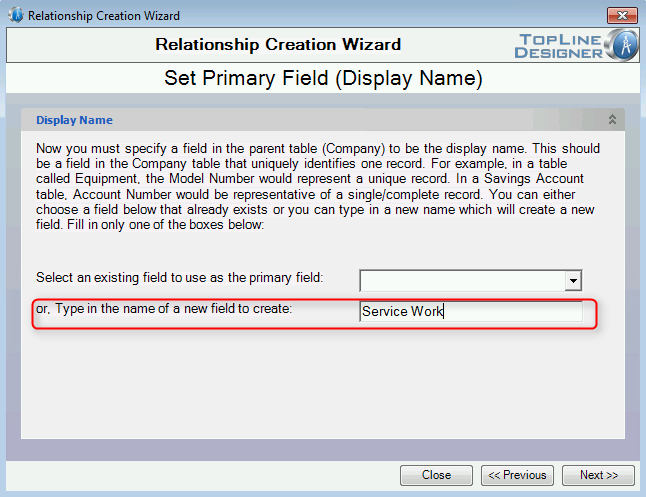
- Select the field in the Parent table which will identify it from the Child table or create a brand new field. Click Next.
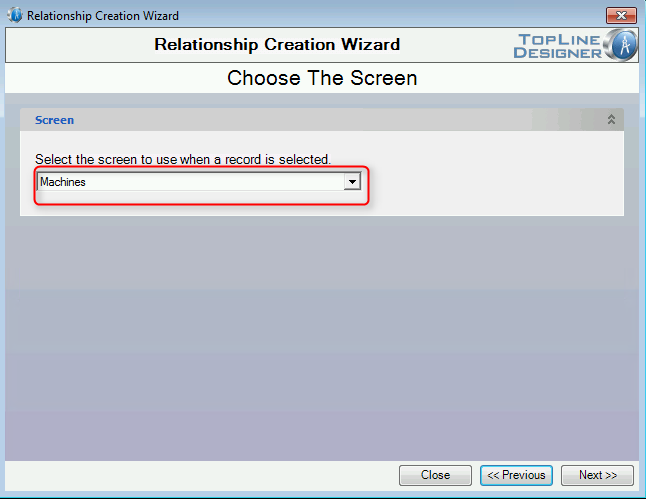
- Select the Screen used to edit the data. Click Next.
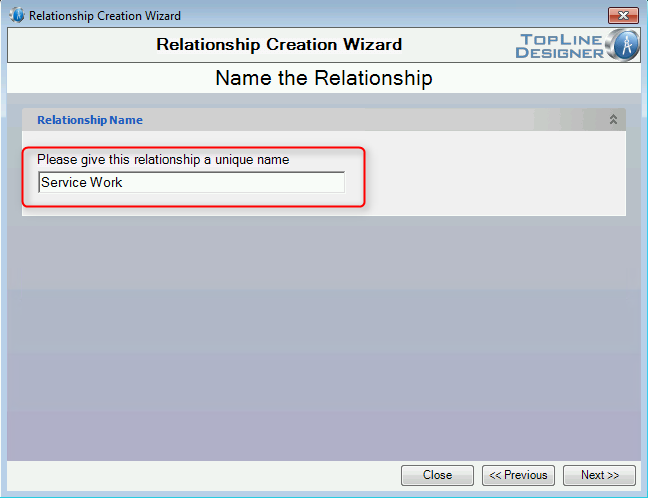
- Give the relationship a unique name. Click Next.
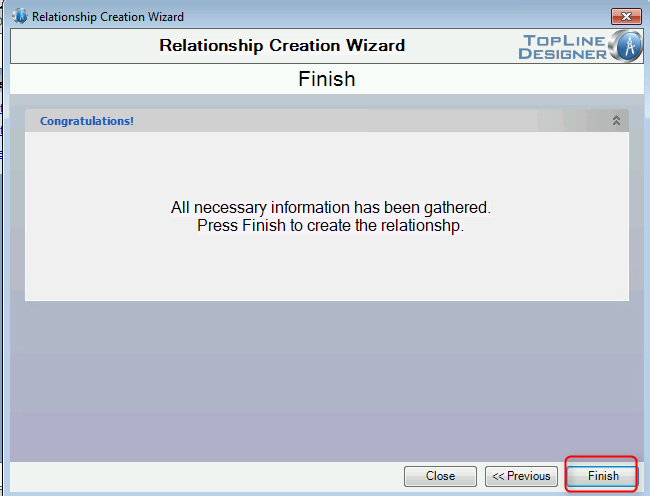
- Click Finish to create the relationship.
- Click OK to return to the Define Fields screen.
See also
| 


