Home > Administrator Functions > Managing Word Templates > Creating a New Template
Creating a New Template
This opening paragraph should describe the feature that you are documenting, explain how it is commonly used and what the benefits are. For example: The Widget Master email link allows you to easily send information about each widget to various departments within your company. Often, the feature that you are documenting can be best explained by walking the reader through step by step. Use screenshots to illustrate the steps where possible.
-
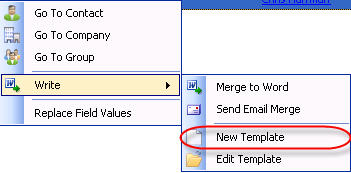
Navigate to a tab that contains a record to merge. For just Designer records (and any child Designer records,) right click on a Designer record, choose Write and choose New Template. To include Contact fields, use the ACT menu of Write->Designer->New Template.

-
A new Microsoft Word document will launch along with a popup window titled Merge Fields.

-
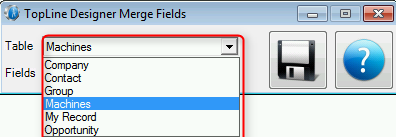
Click on the Table dropdown to select fields from different tables.

The choices are:
- [Custom Table] – This is the primary table that you will be merging.
- My Record – This will insert contact fields. It will merge with data from your My Record contact.
- Contact – This will insert contact fields. It will merge with data from the selected record’s parent contact.
- Company – This will insert company fields. It will merge with data from the selected record’s parent company.
- Group – This will insert group fields. It will merge with data from the selected record’s parent group.
- Opportunity – This will insert opportunity fields. It will merge with data from the selected record’s parent Opportunity.
- Select the field from the desired table, and the field will placed in the document.

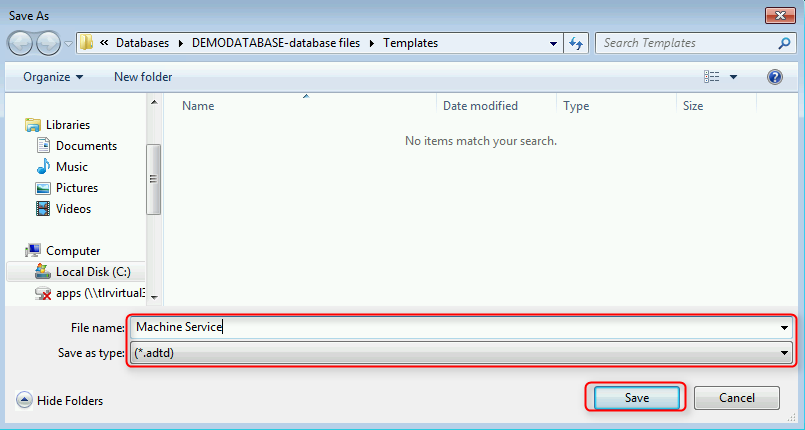
- Once the document has been created, cliick on the Save button to save your template. Do not use the Save feature in Microsoft Word

- Give the document a name and click Save. The file type will be ADTD to differentiate a Designer Word template from an ACT! Word template

See also
| 


