Home > Administrator Functions > Managing Custom Table Screens > Adding a Second Screen
Adding a Second Screen In the new version of Designer you can add multiple screens to a table. However, only one screen can be the default at a time.
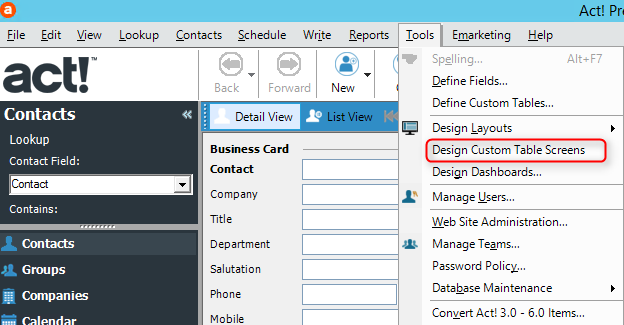
1. First, go to Tools. Custom Table Screens
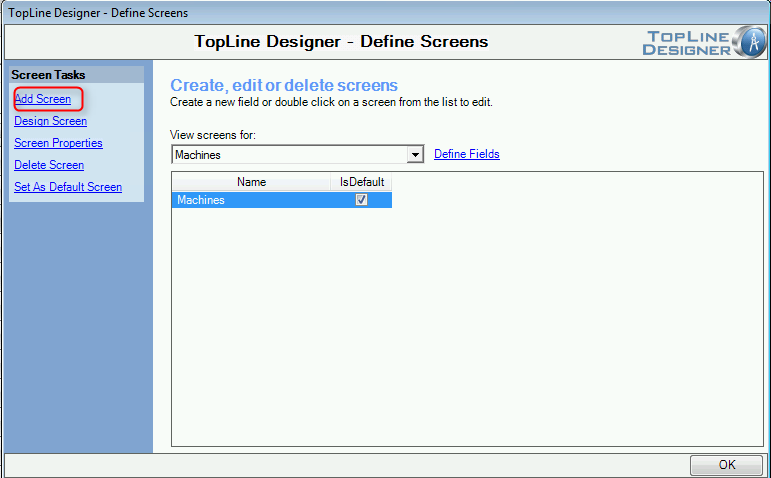
2. When you come to the Design screen section, click Add Screen
3. Give your new screen a name and how many rows and columns you want it to have, after you have done that click Next.

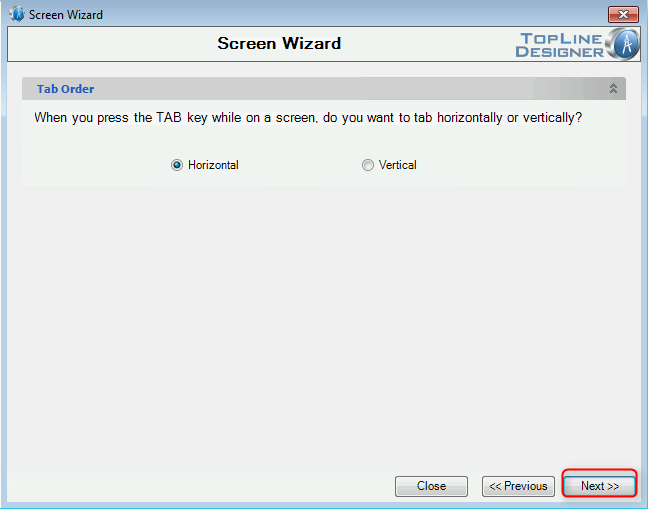
4. You will then be asked how you want to tab, either Horizontally or Vertically. Select your option and click Next.
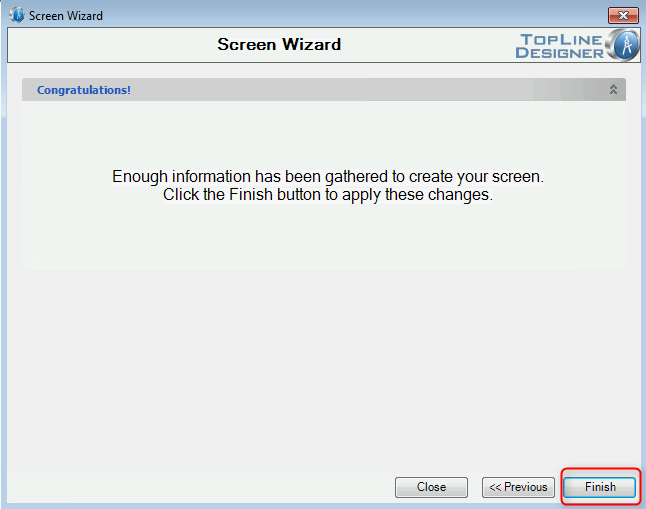
5. You have successfully created a new screen. Click Finish
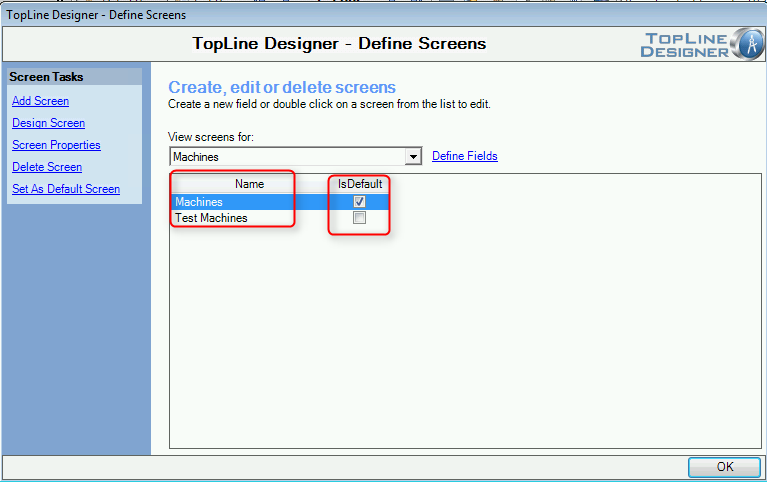
6. You will now see that you have two screens and check box next to them showing which is the default screen.
See also
| 


